


This guide explains, in meticulous practical detail, how small SMT factories can integrate AI-driven vision systems into existing production lines to improve QC, reduce rework, and achieve measurable yield uplift. We cover hardware selection, lighting, data strategy, model training, edge vs cloud deployment, MES integration, verification workflows, KPIs, ROI calculation, and an actionable implementation checklist.
Estimated read: 15–25 min • Audience: production engineers, QA leads, small-factory owners
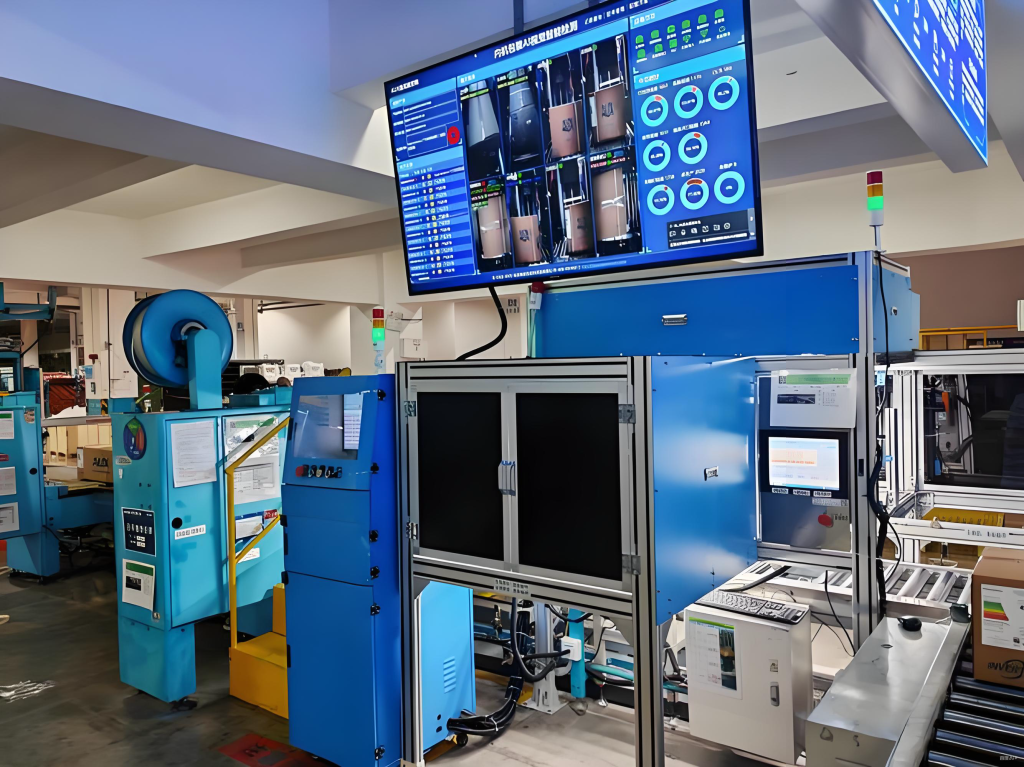
ContentsWhy AI Vision for SMT QCAI Vision System Architecture OverviewHardware: Cameras, Optics & LightingData Collection & Labeling StrategyModel Training, Validation & MetricsDeployment: Edge vs CloudIntegration with SMT Line & MESInspection Workflows & Feedback LoopsKPIs, ROI & Business CaseImplementation Checklist & Pilot PlanCommon Pitfalls & How to Avoid ThemFAQsRelated ArticlesWhy AI Vision for SMT QC
Why AI Vision for SMT QC
Traditional AOI uses rule-based image processing and is effective for many geometric defects. AI vision (deep learning / ML) augments AOI by:
- Improving detection of complex, assembly-specific defects (e.g., solder fillet quality, subtle skew, component contamination)
- Generalizing across component variants and changing lighting conditions after proper training
- Reducing false positives through context-aware models (reducing operator rechecks)
- Enabling predictive quality analytics (anomaly detection upstream)
For small factories, AI vision is most valuable when targeted at the top recurring defect modes rather than broad replacement of AOI.AI Vision System Architecture Overview
AI Vision System Architecture
Typical components:
- Image acquisition: industrial cameras, optics, lighting
- Preprocessing: normalization, denoising, perspective correction
- Inference engine: neural network models (classification, segmentation, object detection)
- Edge device: inference box or embedded GPU (NVIDIA Jetson, Intel Movidius, Coral)
- Orchestration: local software to route images, manage models, and forward results
- Integration layer: MES/PLC, central database for logging and analytics
Design your architecture to be modular — start with a single inspection point (post-reflow or post-placement) and expand.Hardware: Cameras, Optics & Lighting
Hardware Selection: Camera, Optics & Lighting
1. Camera sensor & resolution
Select sensor size and resolution based on smallest feature you must detect. Rule of thumb: aim for at least 3–5 pixels across the smallest defect of interest.
- For 0201/01005 inspection, use cameras 5–12 MP with small pixel size.
- Global shutter sensors avoid motion artifacts in conveyorized environments.
2. Optics (lens selection)
Use high-NA lenses with low distortion. Consider telecentric lenses for precise dimensional measurements across depth.
3. Lighting
Lighting choice is critical — AI models compensate, but poor lighting degrades performance. Common setups:
- Ring lighting for general top-down uniform illumination
- Coaxial / dark-field for solder fillets and surface features
- Structured light or multi-angle LED arrays for 3D cues
4. Triggering & synchronization
Use encoder or PLC triggers to capture images at repeatable positions. Time jitter degrades training and inference accuracy.Data Collection & Labeling Strategy
Data Collection & Labeling
1. Collect representative data
Gather images across SKUs, board variants, lighting shifts, and repeat runs. Include both good and faulty examples (aim for thousands of images for deep learning; fewer for transfer learning).
2. Labeling strategy
- Use bounding boxes for object detection (component missing, gross misplacement)
- Use segmentation masks for solder fillet quality
- Use classification labels for pass/fail at board level
- Capture metadata: SKU, line, operator, reflow profile, time of day
3. Data quality & augmentation
Balance datasets; use augmentation (brightness, rotation, slight blur) but avoid unrealistic transforms. Track labeler agreement; use QA reviews to reduce label noise.
4. Privacy & storage
Store images with indexed metadata; ensure backup and a retention policy. Small factories can start with a NAS and export CSV/JSON for each batch.Model Training, Validation & Metrics
Model Training & Validation
1. Choose model type
- Classification: pass/fail board-level decisions
- Object detection (YOLO/SSD/RetinaNet): component detection and localization
- Segmentation (U-Net): solder joint morphology and fillet quality
2. Validation metrics
- Precision/Recall / F1: balance false positives and negatives
- mAP: for detection tasks
- ROC / AUC: threshold tuning
- Confusion matrix: understand specific failure modes
3. Cross-validation & test sets
Reserve a completely independent test set (different production day / different operator) to estimate real-world performance.
4. Explainability & model monitoring
Use saliency maps (Grad-CAM) or bounding box visualizations to validate what the model looks at — helps build trust with operators.Deployment: Edge vs Cloud
Deployment: Edge vs Cloud
Edge deployment
- Low latency, deterministic response — ideal for inline rejects and real-time feedback
- Use embedded devices: NVIDIA Jetson family, Intel NCS, Google Coral
- Requires local model update processes and version control
Cloud deployment
- Centralized model training, easier data aggregation and analytics
- Higher latency — acceptable for batched analytics or non-critical checks
- Requires reliable network and data privacy considerations
Hybrid approach
Run inference at the edge; periodically sync images and logs to cloud for retraining and global analytics — best for small factories scaling gradually.Integration with SMT Line & MES
Integration with SMT Line & MES
1. Real-time interfaces
Integrate with PLC/PLC bus (Modbus, EtherCAT) or via OPC UA to receive triggers and send pass/fail flags.
2. MES / Traceability
Write inspection results and image references to MES or a lightweight SQL store with fields: board_id, sku, station, timestamp, verdict, confidence, image_url.
3. Feedback loops
- SPI→Printer closed-loop: adjust paste printer based on observed defects
- AOI/AI→Pick-and-place: skip / flag feeder if repeated misfeeds
- Automated hold & rework station routing via MES
Inspection Workflows & Feedback Loops
Inspection Workflows & Feedback Loops
Inline (real-time) workflow
- Trigger image at fixed conveyor position → Edge inference → immediate pass/reject decision → conveyor diversion or hold for rework
Offline (batch) workflow
- Capture images → store & batch-process overnight → tag suspect boards for next-day rework
Closed-loop adjustments
Implement automatic parameter adjustments (e.g., paste deposition volume) only after human-in-the-loop validation initially — avoid runaway corrections.KPIs, ROI & Business Case
KPIs & ROI
Key metrics to track
First Pass Yield (FPY)
DPMO (defects per million)
False Positive Rate
MTTR for camera issues
Coverage: % of defects detected by AI
ROI example (small shop)
Assume 400 boards/day, average rework cost $0.6/board, current rework rate 3% (12 boards/day → $7.2/day). If AI reduces rework by 70%, daily saving ≈ $5.04 → annual (250 days) ≈ $1,260. Add reduced warranty/field failures and labor savings — total benefit may justify a modest edge box + camera within 1–3 years depending on scale. Always calculate with your site-specific defect costs and labor rates.Implementation Checklist & Pilot Plan
Implementation Checklist & Pilot Plan
Pilot scope
- Select 1–2 SKUs with highest defect cost
- Define target defect types (e.g., missing component, tombstone, solder bridging)
- Install camera + lighting at chosen point (post-placement or post-reflow)
- Collect & label 2k–10k images depending on complexity
- Train model & validate on independent test set
- Deploy edge inference for 4–8 weeks with human-in-loop review
Rollout criteria
- Precision > 90% & Recall > 85% for target defects (site-specific)
- False positive rate low enough to keep operator load manageable
- Integration paths to MES and rework routing are validated
Common Pitfalls & How to Avoid Them
Common Pitfalls
- Pitfall: Training on vendor demo parts only → Avoid: always train on your real production images
- Pitfall: Ignoring lighting stability → Avoid: standardize fixtures and lock temperature-controlled lighting where possible
- Pitfall: Over-automation too quickly → Avoid: keep human-in-loop until confidence established
- Pitfall: No label/version control for models → Avoid: track model versions, performance metrics and rollbacks
- Pitfall: Network bandwidth limits for cloud inference → Avoid: use edge inference for real-time checks
FAQs
Q: Can AI vision replace AOI?
A: Not always. AI vision complements AOI—use AI for complex anomaly detection and AOI for deterministic geometric checks. Many deployments combine both for best coverage.
Q: How much data do I need?
A: For simple classification, a few hundred labeled images per class with transfer learning may suffice. For robust detection/segmentation across many SKUs, thousands of labeled images are preferable.
Q: Will lighting changes break the model?
A: Models are sensitive to drastic lighting shifts. Capture training images across lighting states, use normalization, and aim for controlled fixtures.Related Articles
- Understanding Pick-and-Place Calibration for Precision Assembly
- How Automated SMT Equipment Reduces Human Error in Manual Soldering
- Troubleshooting Common Taping & Tray Packing Machine Issues
- AI Vision Integration Resources (Templates & Labeling Tools)
Quick Pilot Checklist
- Select 1–2 high-impact SKUs
- Define defect taxonomy & labels
- Install camera + lighting + encoder trigger
- Collect & label images (2k–10k)
- Run edge inference with human review
Top Tools
NVIDIA Jetson / Coral Edge TPU
5–12MP Global Shutter Camera
Telecentric / Low-distortion Lens
Ring + Dark-field LED Lighting
Performance Targets (Example)
- Precision ≥ 90%
- Recall ≥ 85%
- False positive rate ≤ 5% (site-specific)
- Edge inference latency ≤ 100 ms


留下评论