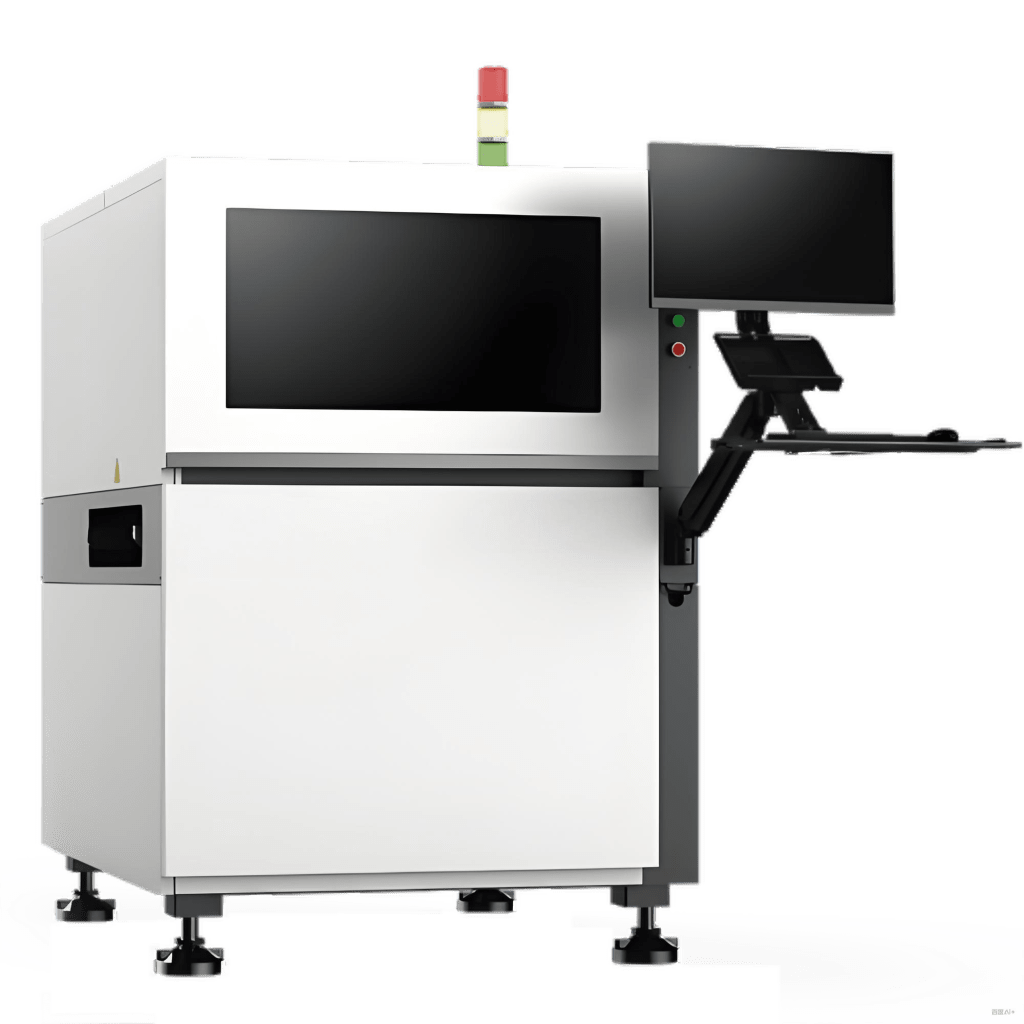
Precision Redefined: SMT Automated Optical Inspection
In the micron-level battlefield of manufacturing quality, every defect is a breach of brand integrity. SMTPack LAB Axiom AOI Series acts as the “visual brain” embedded in your SMT production line, transcending human visual limits to redefine the boundary of zero-defect manufacturing.
Chapter 1: Precision in Action — Solving the Hidden Quality Crisis in Modern SMT Lines
- The Cost of Escaped Defects: Micro defects like tombstoning, solder balls, offset placement, and poor joints that slip through inspection lead not only to skyrocketing rework costs, but to long-term brand damage.
- The Data Blind Spot: Traditional inspection methods fail to create a closed-loop data flow, leaving process parameters in pick-and-place and reflow stages unoptimized — yield improvements hit a ceiling.
- The Human Variability Problem: Manual inspection brings inconsistency. Fatigue and subjectivity make quality control a matter of probability, not precision.
Axiom AOI eliminates these uncertainties. It’s not just a defect detector — it’s a data engine driving process optimization across the entire production chain.
Chapter 2: Technical Architecture — Built for Industry 4.0
2.1 Optical Imaging System: From Seeing to Understanding
- Modular Vision Matrix
Camera Configuration: Supports 0–2 high-performance industrial cameras, adaptable for single or multi-angle inspection.
Resolution Range (1.3–20 Megapixels): Offers a scalable precision ladder. The 20MP UHD configuration conquers ultra-fine inspection challenges such as 01005 components, μBGA solder balls, and QFN side wetting. - Multimodal Illumination Architecture
Integrated 8-channel programmable spectral engine supporting independent RGBW + IR wavelength control.
With Axiom Vision Studio™, each component can be assigned a unique “optical fingerprint”, solving issues caused by reflective or matte surfaces.
2.2 Intelligent Algorithm Engine: Fusion of Rules and Perception
- Classical Algorithm Library: Geometric Topology Analysis, GLCM Texture Analysis, Color Space Conversion.
- Axiom AI™ Deep Learning Module (Optional): CNN-based models trained on tens of thousands of real defect images, achieving <20% false alarm rate compared to rule-based inspection.
2.3 Motion Control and Mechanical Platform
- High-Dynamic Positioning System: Linear motor + grating encoder closed-loop control with repeatability ≤5μm. Stable image capture at UPH ≥ 2500.
- Thermal Compensation Mechanism: Real-time drift compensation ensures precision under long-term operation.
2.4 Data Infrastructure
- Edge Computing Node: Industrial embedded controller with local storage for 300,000+ defect images and SPC analysis.
- Digital Twin Interface: Compatible with IPC-CFX® and Hermes® for seamless MES/ERP integration.
Chapter 3: Technical White Paper — Core Applications
3.1 Post-SMT Solder Joint Inspection
| Inspection Type | Technology | Detectable Defects | Accuracy |
|---|---|---|---|
| Solder Quality | 3D Topography + Deep Learning | Voids / Bridges / Balls / Cold Joints | ≥15μm |
| Component Placement | Geometry + Gray Analysis | Offset / Tombstone / Flip / Missing | ≥25μm |
| Micro-Component | 20MP + Coaxial Lighting | 0201/01005 Tombstone / Insufficient Solder | ≥8μm |
| BGA | Multi-Angle Reconstruction | Missing Balls / Bridge / Cold Solder | ≥10% Ball Deviation |
3.2 Component Appearance Inspection Matrix
- Package Integrity: Scratches ≥20μm, cracks, lead oxidation
- Marking Quality: Misprint, incomplete characters, off-center print ≥50μm
- Coplanarity: Lead warpage ≥0.1mm, ball height variance
- Polarity Check: Missing/incorrect polarity mark, orientation errors
Chapter 4: Configurable Solutions — Build Your Own Quality Defense
4.1 Standard Configuration
- Single 1.3MP CCD camera
- 4-channel RGBW ring light
- Classical algorithm library
- 7-inch embedded touch panel
4.2 Professional Configuration
- Dual 5MP CCD cameras (orthogonal + oblique)
- 8-channel multispectral lighting system
- Axiom AI™ deep learning module
- 19-inch industrial monitor + edge computing controller
4.3 Optional Modules
- Traceability Suite: QR code scanning + MES data interface
- 3D Inspection Module: Laser scanning / phase profilometry
- Automation Interface: Robot I/O communication protocol
Chapter 5: Why SMTPack LAB
- Focused Expertise: Over 100 combined man-years in machine vision R&D.
- Open Architecture: Supports third-party algorithm integration and customization.
- Lifecycle Support: From setup to process optimization, full technical service coverage.
- Continuous Evolution: Quarterly AI model updates and annual feature upgrades.
Technical Specifications
| Category | Specification |
|---|---|
| Inspection Speed | UPH ≥ 2500 (Standard PCB) |
| Optical System | 0–2 CCD Cameras, 1.3–20MP |
| Detection Accuracy | Up to ±5μm |
| Processing Platform | Embedded Industrial Controller (J7/4G/1TB HDD + 128GB SSD) |
| Illumination | 8-channel Programmable Multispectral LED |
| Communication | GigE Vision®, PLC I/O, TCP/IP, SECS/GEM |
| Motion Platform | Linear Motor Drive, Repeatability ≤5μm |
| Dimensions | 1500 × 1450 × 1750mm (customizable) |
| Power Supply | 220V ±10%, 50/60Hz, 2.5KW |
Book a Technical ConsultationRequest Free Programming EvaluationDownload White Paper © 2025 SMTPack LAB | Precision in Every Micron


